
To set the clock on a range hood, locate the clock button and use the arrow buttons to adjust the time. Setting the clock on your range hood is a simple task once you know where to find the clock button.
By using the arrow buttons next to the clock button, you can easily adjust the time to reflect the current time. This quick and easy process will ensure that you can keep track of time while using your range hood efficiently.
So, let’s dive in and learn how to set the clock on your range hood.
Why Does The Clock Need To Be Set?
Properly setting the clock on your range hood is essential for accurate timing and convenience while cooking. By following a few simple steps, you can easily set the clock on your range hood and ensure that it keeps accurate time.
Importance Of Setting The Clock On A Range Hood
Having a accurately set clock on your range hood can be more important than you might think. Not only does it help you keep track of time while cooking, but it also offers several other benefits. Let’s dive into why setting the clock on your range hood is vital.
Benefits Of A Accurately Set Clock:
- Time management: Keeping an accurate clock on your range hood allows you to efficiently manage your cooking time. It helps you stay organized and ensures that your dishes are cooked to perfection.
- Synchronizing with other appliances: Setting the clock on your range hood allows you to synchronize it with other appliances in your kitchen. This can be particularly useful if you have multiple appliances with built-in timers. You can easily coordinate their operation and avoid any timing conflicts.
- Convenience: An accurately set clock provides convenience by eliminating the need to constantly check the time on your phone or other devices while cooking. You can rely on the visible clock on your range hood, making it easier to keep track of cooking durations.
- Safety: Knowing the time accurately is crucial for safety reasons. Whether it’s monitoring cooking times or adhering to recipes, an accurate clock ensures that your cooking processes are safe and reliable.
- Energy efficiency: Setting the clock on your range hood can contribute to energy efficiency. It allows you to plan and time your cooking activities effectively, reducing unnecessary energy consumption and ultimately saving on electricity bills.
- Enhanced functionality: Many range hoods come with additional features like delayed shut-off or auto-start functions. These functions can only be fully utilized when the clock is accurately set. By setting the clock, you unlock the full potential of your range hood and make the most of its functionalities.
- Aesthetics: Having a properly set and visible clock can enhance the overall aesthetics of your kitchen. It adds a stylish touch to your range hood, making it more than just a functional appliance.
Setting the clock on your range hood might seem like a small task, but it brings numerous advantages that contribute to efficient cooking, safety, energy savings, and overall convenience in the kitchen. Take a few moments to ensure your range hood clock is accurately set, and enjoy the benefits it offers.
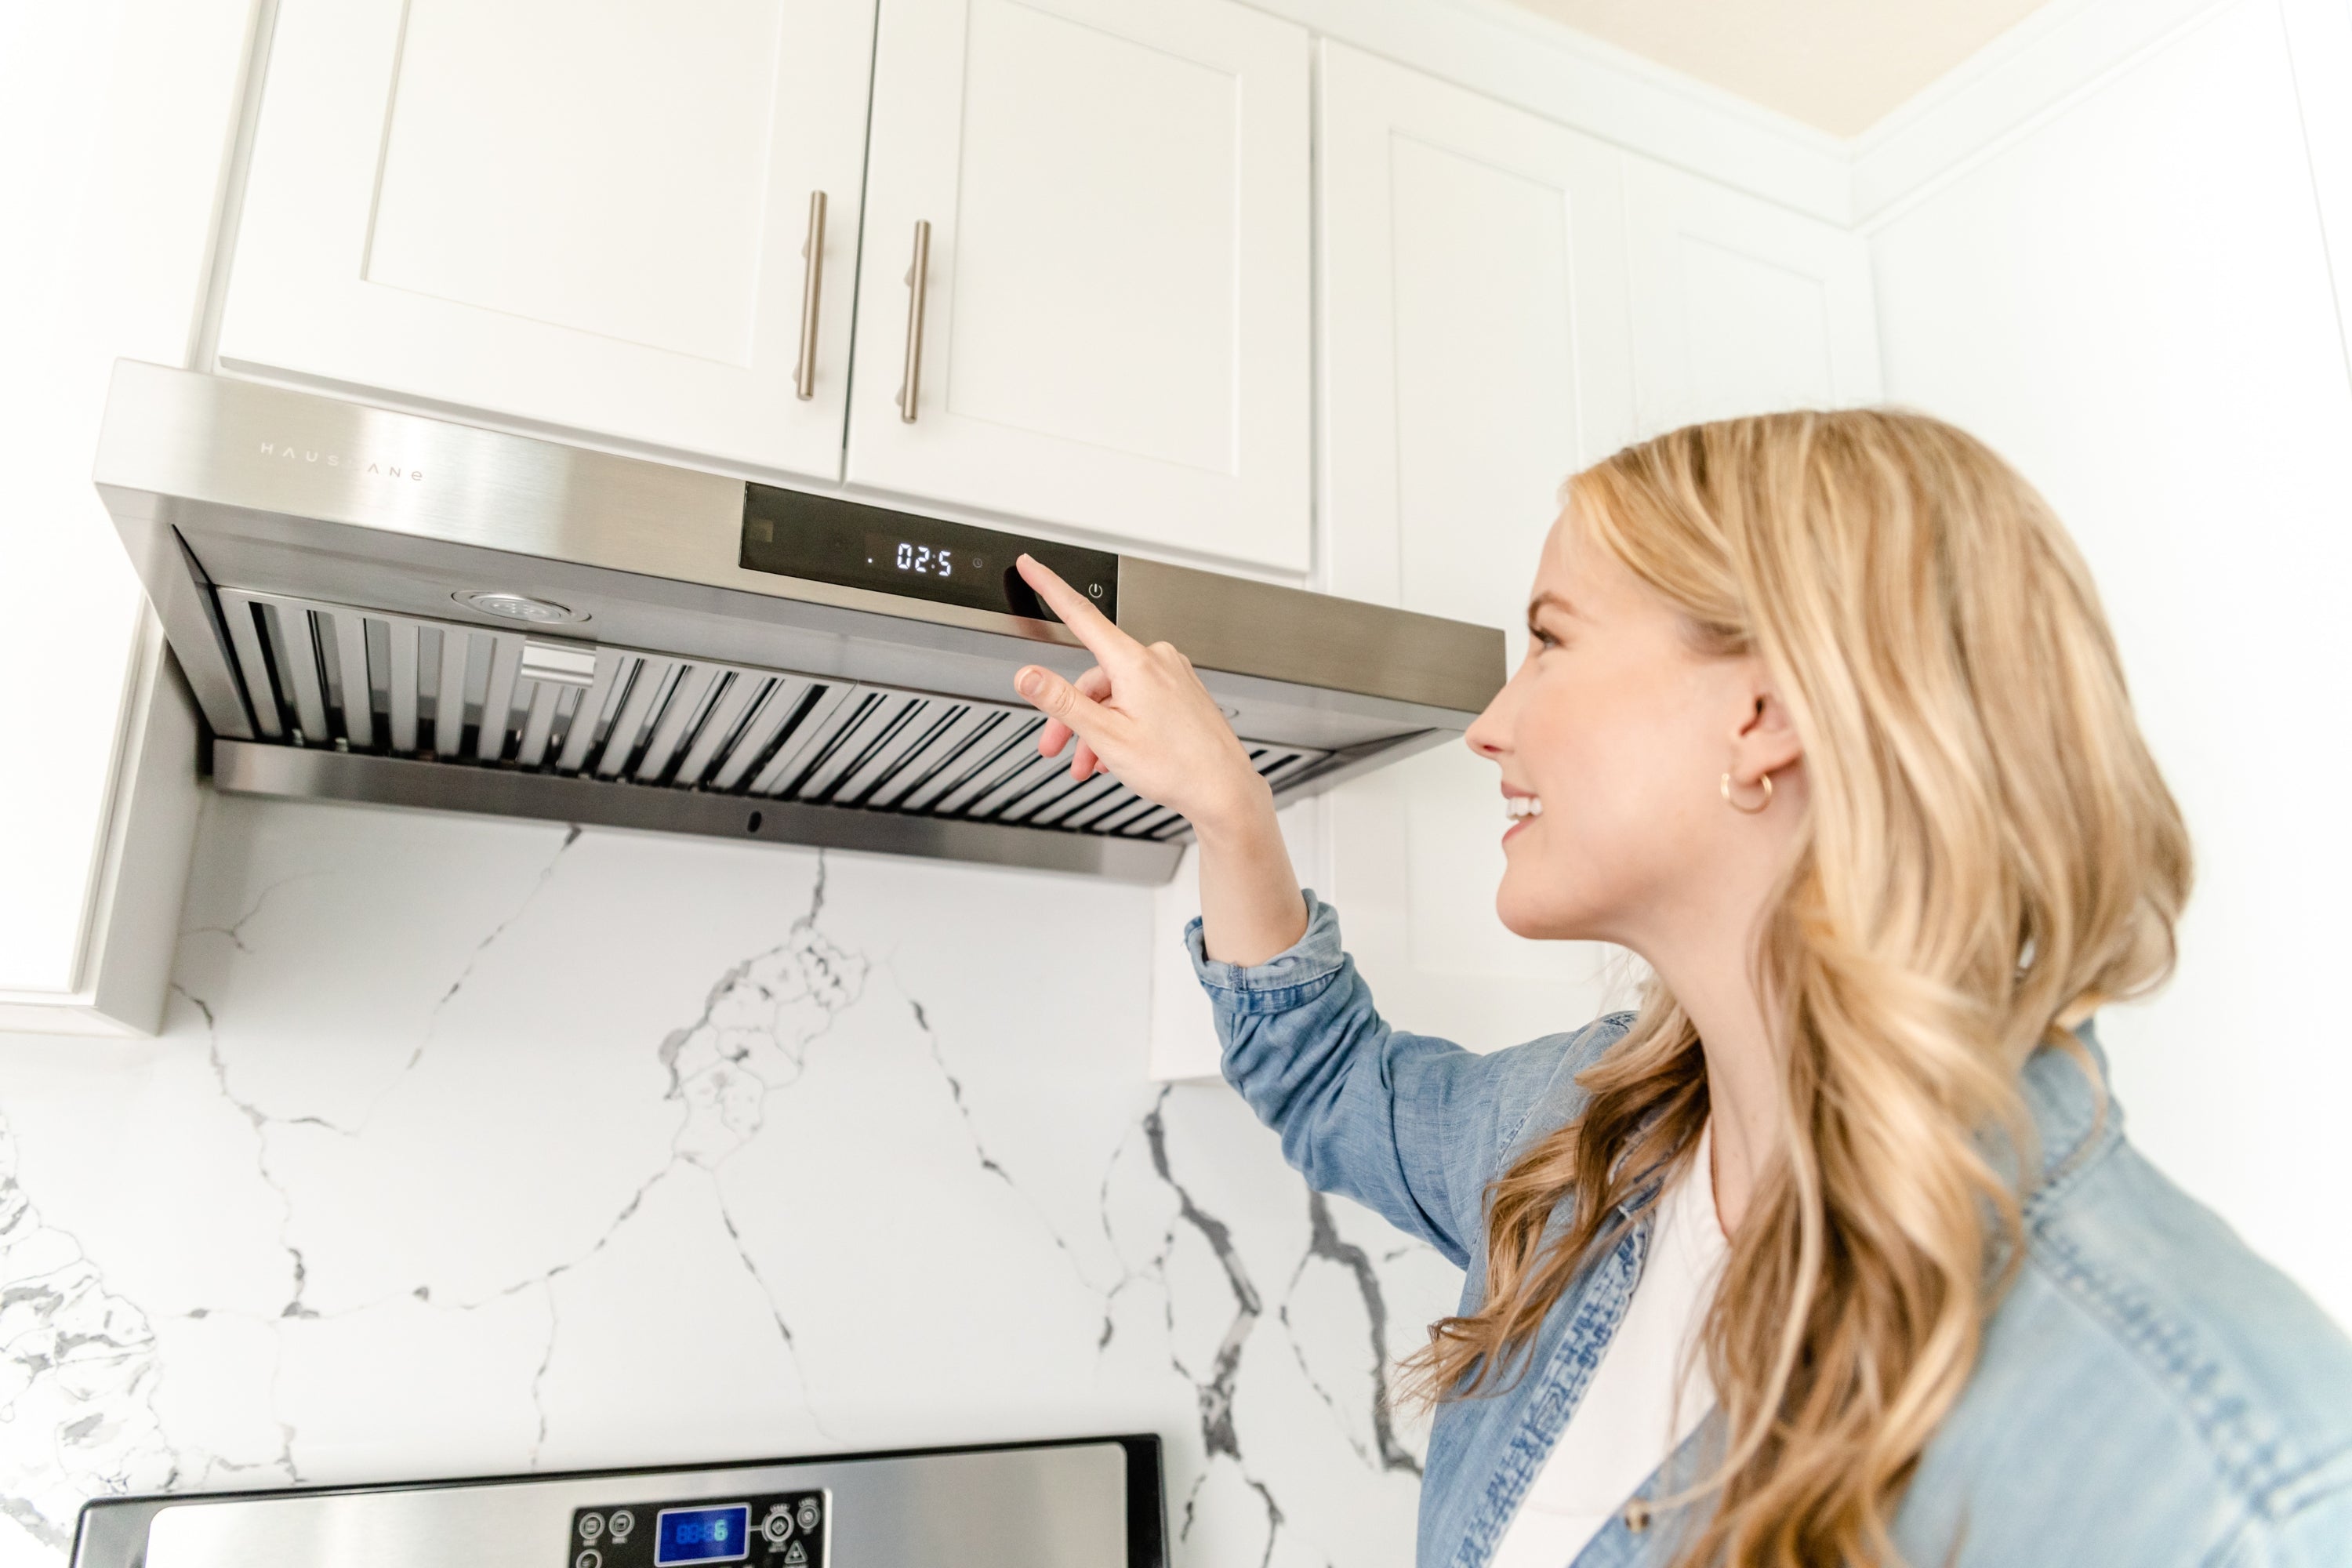
Credit: hauslane.com
Step-By-Step Guide To Setting The Clock
Learn how to easily set the clock on your range hood with this step-by-step guide. Simply follow the instructions and enjoy precise timekeeping in your kitchen.
Steps To Set Clock On Range Hood
Setting the clock on your range hood is a simple process that can be easily done with just a few steps. In this step-by-step guide, we will walk you through the process of setting the clock on your range hood, ensuring that you have the correct time displayed in no time.
Gathering The Necessary Tools And Materials:
To begin, gather the following tools and materials:
- Screwdriver (if required)
- User manual provided with your range hood
Locating The Control Panel On The Range Hood:
- Look for the control panel on your range hood. It is typically located at the front of the hood, near the controls for the fan and lights.
- Make sure the range hood is turned off before proceeding.
Accessing The Clock Setting Function:
- Locate the clock setting function on the control panel. It is usually labeled with a clock icon or the word “Clock.”
- If there are buttons or touch controls, press the button labeled “Clock” or a similar button to access the clock setting function.
Selecting The Appropriate Time Format:
- If your range hood offers the option to choose between a 12-hour and 24-hour time format, select the format that suits your preference.
- Use the arrow buttons or the touch controls to navigate and select the desired time format.
Adjusting The Hour And Minutes:
- Once you have selected the time format, proceed to adjust the hour and minutes accordingly.
- Use the arrow buttons or the touch controls to increase or decrease the hour and minutes until the correct time is displayed.
Confirming And Saving The New Clock Settings:
- After adjusting the hour and minutes, press the “Save” or “Set” button to confirm and save the new clock settings.
- Some range hoods may require you to press a separate button to exit the clock setting function and return to the normal operating mode.
With these simple steps, you have successfully set the clock on your range hood. Now you can enjoy the convenience of having the accurate time displayed while cooking in your kitchen. Remember to consult your user manual for model-specific instructions, as the process may vary slightly for different range hoods.
Troubleshooting Common Issues With Clock Setting
Having trouble setting the clock on your range hood? Get step-by-step guidance and troubleshooting tips in this concise guide. Set your clock hassle-free with these expert tips.
Clock Not Displaying Properly
- Check the power source: Ensure that the range hood is properly plugged in and receiving power. If the clock is not displaying at all, it may be due to a power issue.
- Reset the clock: Sometimes, the clock may stop displaying due to a temporary glitch. Try resetting the clock by pressing the “clock” or “timer” button on the range hood control panel.
- Dim or blank display: If the clock display appears dim or completely blank, adjust the brightness setting. Look for a “brightness” button or setting on the control panel and make the necessary adjustments.
Inability To Access The Clock Setting Function
- Locked controls: Some range hoods have a control lock feature to prevent accidental changes. If you are unable to access the clock setting function, it might be because the controls are locked. Look for a dedicated control lock button or refer to the user manual to unlock the controls.
- Timer mode activated: Certain range hoods have a timer mode, which can limit access to the clock setting function. Check if the timer mode is activated and disable it if necessary. Refer to the user manual for instructions on disabling the timer mode.
Error Messages Or Display Malfunction
- Error message: If you encounter an error message while attempting to set the clock on your range hood, refer to the user manual. The error message will usually provide specific instructions or troubleshooting steps to resolve the issue.
- Display malfunction: In case the clock display is showing incorrect or garbled characters, try resetting the clock first. If the issue persists, it could indicate a hardware problem. Contact the manufacturer or seek professional assistance to resolve the display malfunction.
Power Outage And Clock Reset
- Power outage: During a power outage, the clock on your range hood may reset or lose time. Once power is restored, you will need to reconfigure the clock. Consult the user manual for the specific instructions on setting the clock after a power outage.
- Backup battery: Some range hoods come equipped with a backup battery feature to prevent clock resetting during power outages. If your range hood has this feature, the clock should automatically maintain its settings even after a power outage.
Additional Features And Functions Related To The Clock
Discover the additional features on how to set the clock on your range hood effortlessly, making sure it seamlessly blends into your kitchen routine. Experience convenience and efficiency with the clock setting function, adding a touch of sophistication to your cooking space.
Timer And Delay Start Functions
- The range hood clock often includes additional features such as a timer and delay start functions for added convenience and flexibility.
- These functions allow you to set a specific time for the range hood to turn on or off, making it easier to control the ventilation in your kitchen.
- With the timer function, you can program the range hood to automatically shut off after a certain period, ensuring that you don’t forget to turn it off.
- On the other hand, the delay start function enables you to schedule the range hood to switch on at a later time, which can be useful when you want to prepare in advance for cooking or eliminate unwanted cooking odors before you start.
Clock Synchronization With Other Kitchen Appliances
- In some cases, range hoods offer clock synchronization features that allow you to sync the clock with other kitchen appliances.
- This synchronization ensures that all your devices display the same time, making it easier to plan your activities in the kitchen.
- By having synchronized clocks, you can seamlessly coordinate cooking times between different appliances and maintain a consistent cooking schedule.
- It eliminates the need to manually update the time on each device, saving you time and effort in the long run.
Clock Display Customization Options
- Range hoods may provide various options to customize the clock display according to your preference.
- These customization options allow you to personalize the appearance of the clock, aligning it with the style of your kitchen or your personal taste.
- You can typically choose from different clock formats, such as 12-hour or 24-hour formats, depending on your preference or familiarity.
- Additionally, some range hoods may offer adjustable brightness levels for the clock display, allowing you to dim or brighten it based on your lighting preferences in the kitchen.
Range hoods often come equipped with additional features and functions related to the clock, enhancing the convenience and control you have over your kitchen environment. These include timer and delay start functions, clock synchronization with other appliances, and clock display customization options.
By understanding and utilizing these features, you can optimize your range hood’s performance and improve your overall cooking experience.
Maintenance And Care Tips For The Clock On A Range Hood
Learn how to set the clock on your range hood with these simple maintenance and care tips. Keep your kitchen running smoothly by ensuring your range hood’s clock is always accurate and functioning properly.
Maintaining and caring for the clock on your range hood is crucial for ensuring accurate timekeeping and prolonging its lifespan. Proper maintenance will also prevent any disruptions in your cooking routine. In this section, we will discuss some essential tips to help you keep your range hood clock in optimal condition.
Regular Cleaning Of The Control Panel:
To maintain the functionality of your range hood clock, regular cleaning of the control panel is necessary. Here are some effective cleaning tips to keep in mind:
- Gently wipe the control panel with a soft, damp cloth to remove any dust and grime.
- If there are stubborn stains, use a mild detergent diluted in water to wipe them away.
- Avoid using abrasive cleaners, as they can damage the control panel’s surface.
- Ensure the control panel is completely dry before using it.
Protecting The Clock From Moisture And Spills:
Moisture and spills can wreak havoc on the clock of your range hood. Follow these tips to protect it:
- Be cautious when cooking with liquids. Keep containers tightly sealed to prevent accidental spills.
- After cooking, wipe away any moisture or spills immediately from the control panel.
- Avoid placing hot or steaming pots near the clock, as the heat and moisture can damage it.
- If your range hood has a protective cover for the clock, ensure it is in place to guard against moisture intrusion.
Checking For Software Updates:
Just like other electronic devices, the clock on your range hood may have software updates available. Checking for updates is important for improved functionality. Here’s how to go about it:
- Refer to the range hood manufacturer’s instructions for checking software updates for the clock.
- Typically, you can find information about updates in the user manual or on the manufacturer’s website.
- Follow the provided instructions to download and install any available updates.
- Regularly check for updates to ensure your range hood clock is up to date with the latest features and enhancements.
With these maintenance and care tips, you can ensure that the clock on your range hood remains accurate and functional for years to come.
Frequently Asked Questions Of How To Set Clock On Range Hood
How Do I Set The Clock On My Range Hood?
To set the clock on your range hood, locate the clock button on the control panel. Press and hold it until the display starts flashing. Use the arrow buttons to adjust the hours and minutes, then press the clock button again to confirm the time.
Why Is It Important To Set The Clock On My Range Hood?
Setting the clock on your range hood is important because it allows you to use the timer and delay start functions accurately. It also ensures that the clock displays the correct time, allowing you to keep track of your cooking durations effectively.
Can I Set The Clock On My Range Hood To 24-Hour Format?
Yes, many range hoods offer the option to set the clock in either 12-hour or 24-hour format. Refer to your range hood’s user manual for specific instructions on how to switch between these formats and choose the one that suits your preference.
Conclusion
Setting the clock on your range hood may seem like a small task, but it can make a big difference in your kitchen routine. With the step-by-step instructions outlined in this blog post, you can easily navigate through the process and ensure that your range hood clock is accurately set.
By following these simple guidelines, you can avoid any confusion or frustration that may arise from incorrect clock settings. Now you can have peace of mind knowing that your range hood will keep track of time accurately, allowing you to focus on your cooking without any interruptions.
So go ahead, take a few minutes to set the clock on your range hood and enjoy the convenience it brings to your kitchen. Happy cooking!